Welcome to taosastronomer.com!
offering
local "hands-on" observing
(visual and imaging) sessions and instruction
viewing and imaging from Rabbit Valley Observatory
a dark sky location on the mesa just west of Taos, NM
Hands-On Imaging Sessions / support documentation |
At taosastronomer.com, we enjoy walking you through and fully assisting you in taking deep-sky-long-exposure image(s) of nebulae, galaxies and star clusters. This is accomplished with our equipment -- you need not bring anything special to the imaging session (other than appropriate warm clothing, of course!) -- your presence, curiosity and attention is all that is required! (For now, lunar and planetary imaging are not available -- perhaps soon, after some equipment upgrades and additional research!)
One of the overarching concepts of this sort of photography is that one image is hardly enough; multiple astronomical digital images must be combined with "calibration frames" in order to come up with an acceptable and pleasing result. The "luminance frames" are obtained at night while the imaging telescope is being accurately and automatically self-guided to precisely follow the subject-object ("apparent sky movement" actually reflects the Earth's rotation on its axis) during long time exposures necessary to pick up the dim light emitted from the subtle (yet often wonderfully colorful) deep-sky object.
The methodology of deep-sky-long-exposure imaging can be daunting and complicated, but it's not an issue with taosastronomer.com; essentially you will be able to use the previously set-up equipment at Rabbit Valley Observatory to obtain these image(s) -- and don't worry about equipment; it's all provided and is hopefully relatively optimized so that your initial imaging session can begin promptly and be completed in several hours -- usually resulting in quite a few frames of one, or maximum, two object(s).
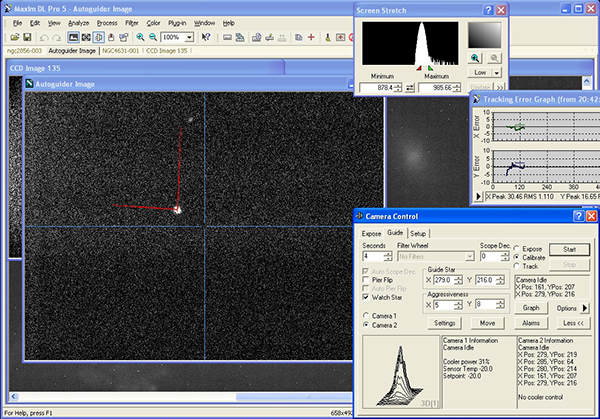
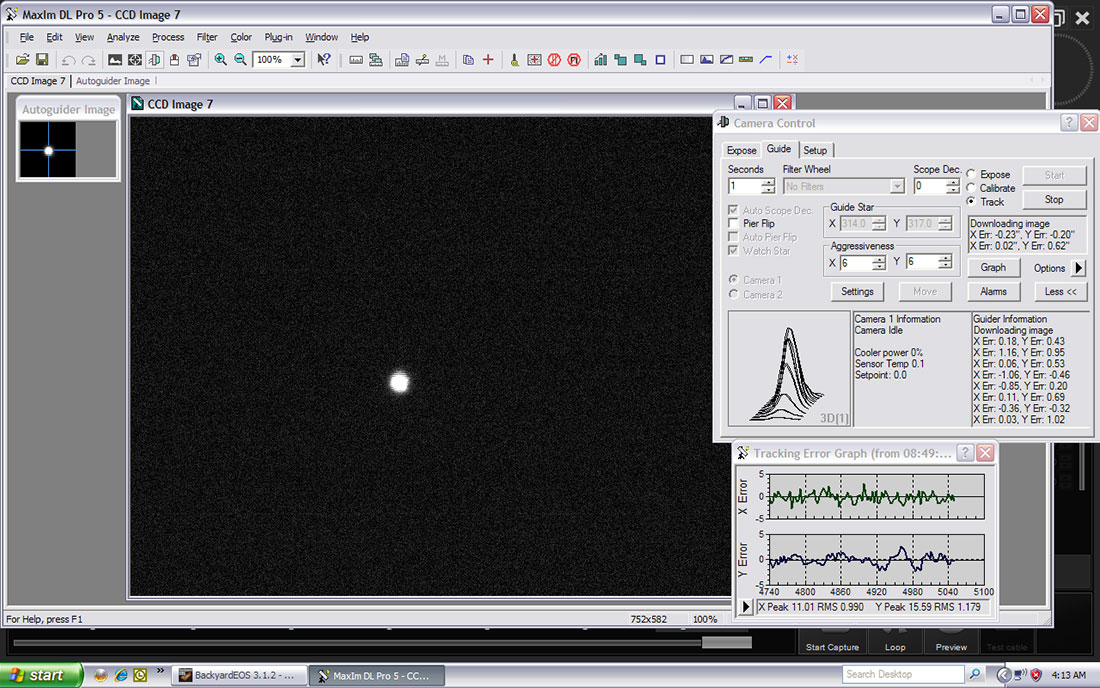
Recently (late summer, 2016) I've changed the guiding systems and software as indicated below. It wasn't that the industry-standard Maxim DL Pro was inadequate; just that the newer PhD2 software seemed to be a more complete guiding package, with built-in presets for all of the more recently introduced equipment. Astrophotography's cutting edge technologies move onward at a very quick pace.
We'll walk you through it -- essentially always being there, conveniently clicking the exposures from the screen of a computer while adding our personalized teaching and commentary on the procedure, applying your advise and consent during this process, and finally recovering the images acquired for post-processing the next morning. You do as much as you wish -- it's a continuous educational hands-on learning environment.
These "luminance frames" (actual photographs of the subject-object, like the Pleiades) taken at the telescope at night will be combined incorporating a sophisticated computer program the next day -- after the recovery of "dark frames" shot as we exit the observatory -- along with "flats" and "bias frames" shot when you arrive the next morning for post-processing.
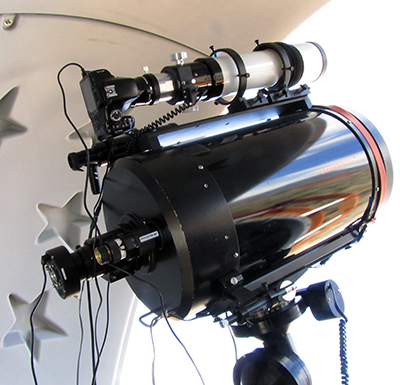
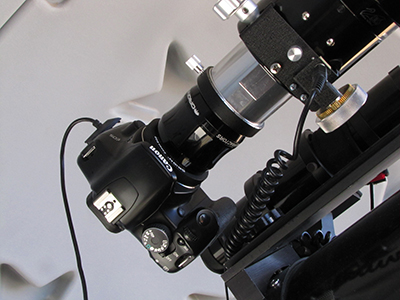
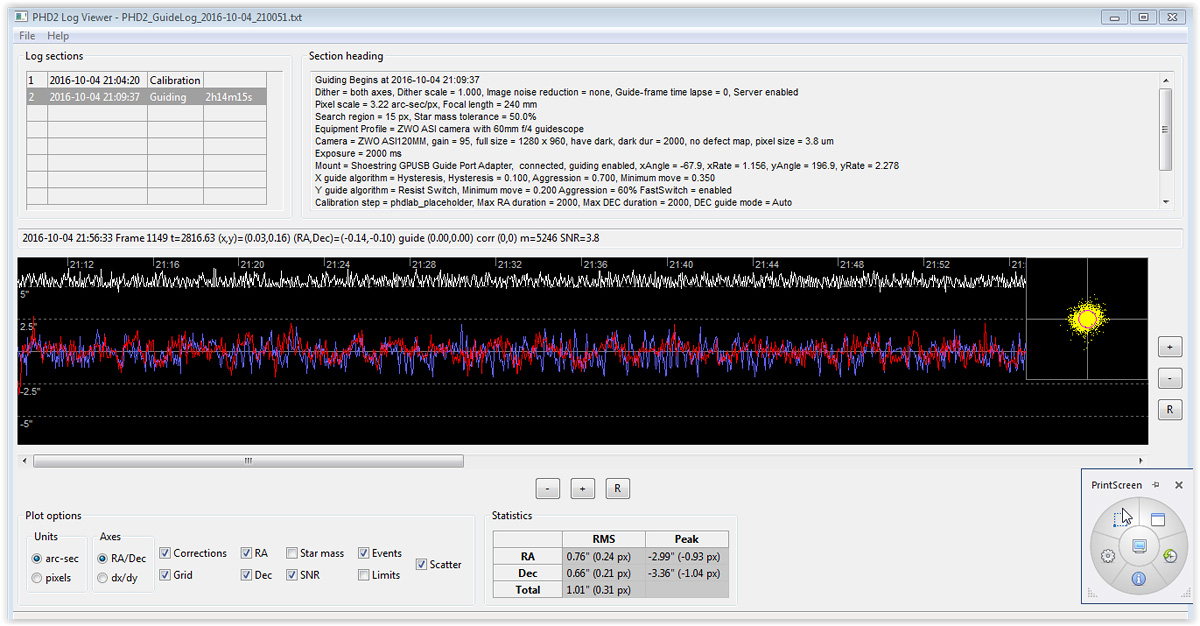
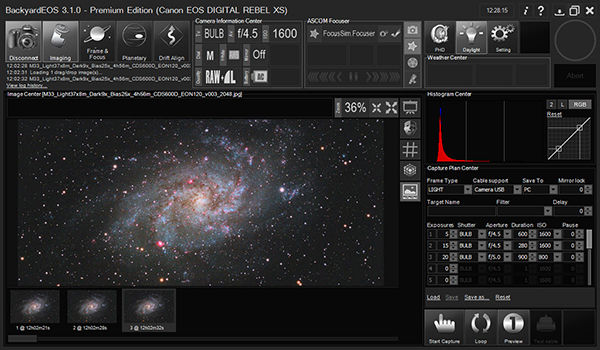
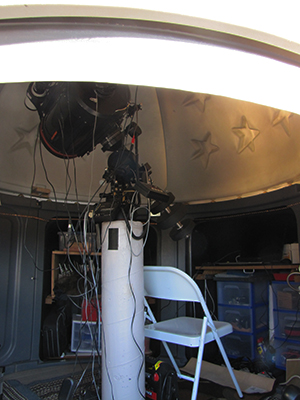
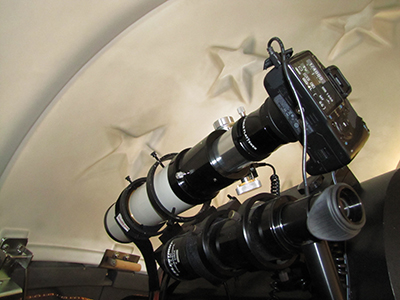
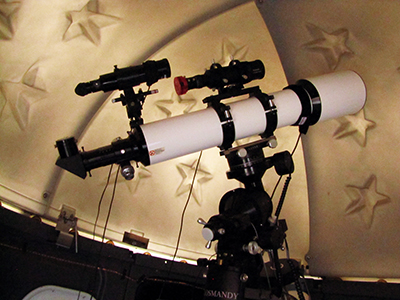
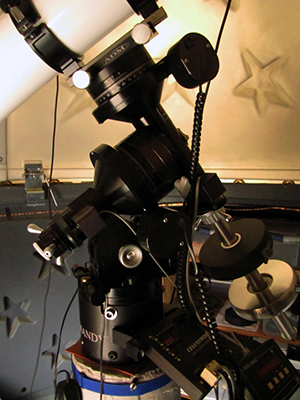
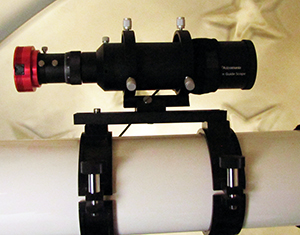
Pictured and described above is the RVO's original imaging equipment. Nowadays, for long-exposure deep-sky astrophotography, the modified Canon 450D XSi imaging camera is attached to the ES127ED 127mm (5-inch) apochromatic refractor, resulting in clearly superior images, as demonstrated by the images on this post-processing thumbnail page and moving forward. Guiding is accomplished in a similar fashon and using the software setup as descrbed above, but now employing the excellent ZWO ASI120MM camera. this newest equipment is pictured below. The CCD cameras pictured and discussed on the equipment page have not yet been put into service. The present setup is shown below.
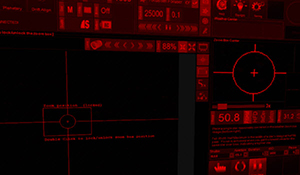
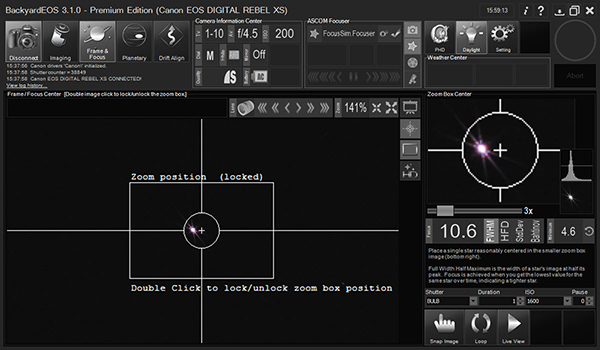
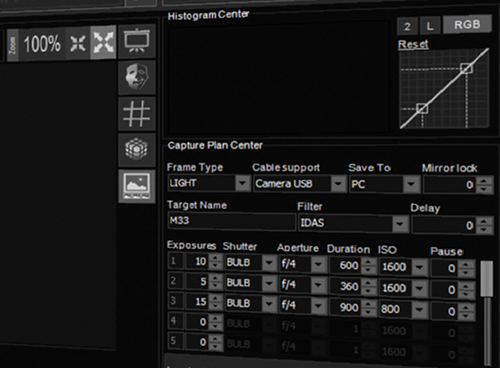
If this sounds a bit complicated, it is! Hopefully, though, with a bit of luck during the collection of well-guided quality "luminance frames" (the actual digital photo frames) at night, combined with the acquisition of the additional "calibration frames" as described above, we'll have something of quality to work with in post-processing. I've included within this narrative some photos of the astronomical and photographic equipment, imaging process and example screen shots and links of the computer programs used to obtain these images at the 'scope. If this sounds intriguing, please continue on to the post-processing page. |
(all content copyright 2015-2019 Willis Greiner Photography, all rights reserved)